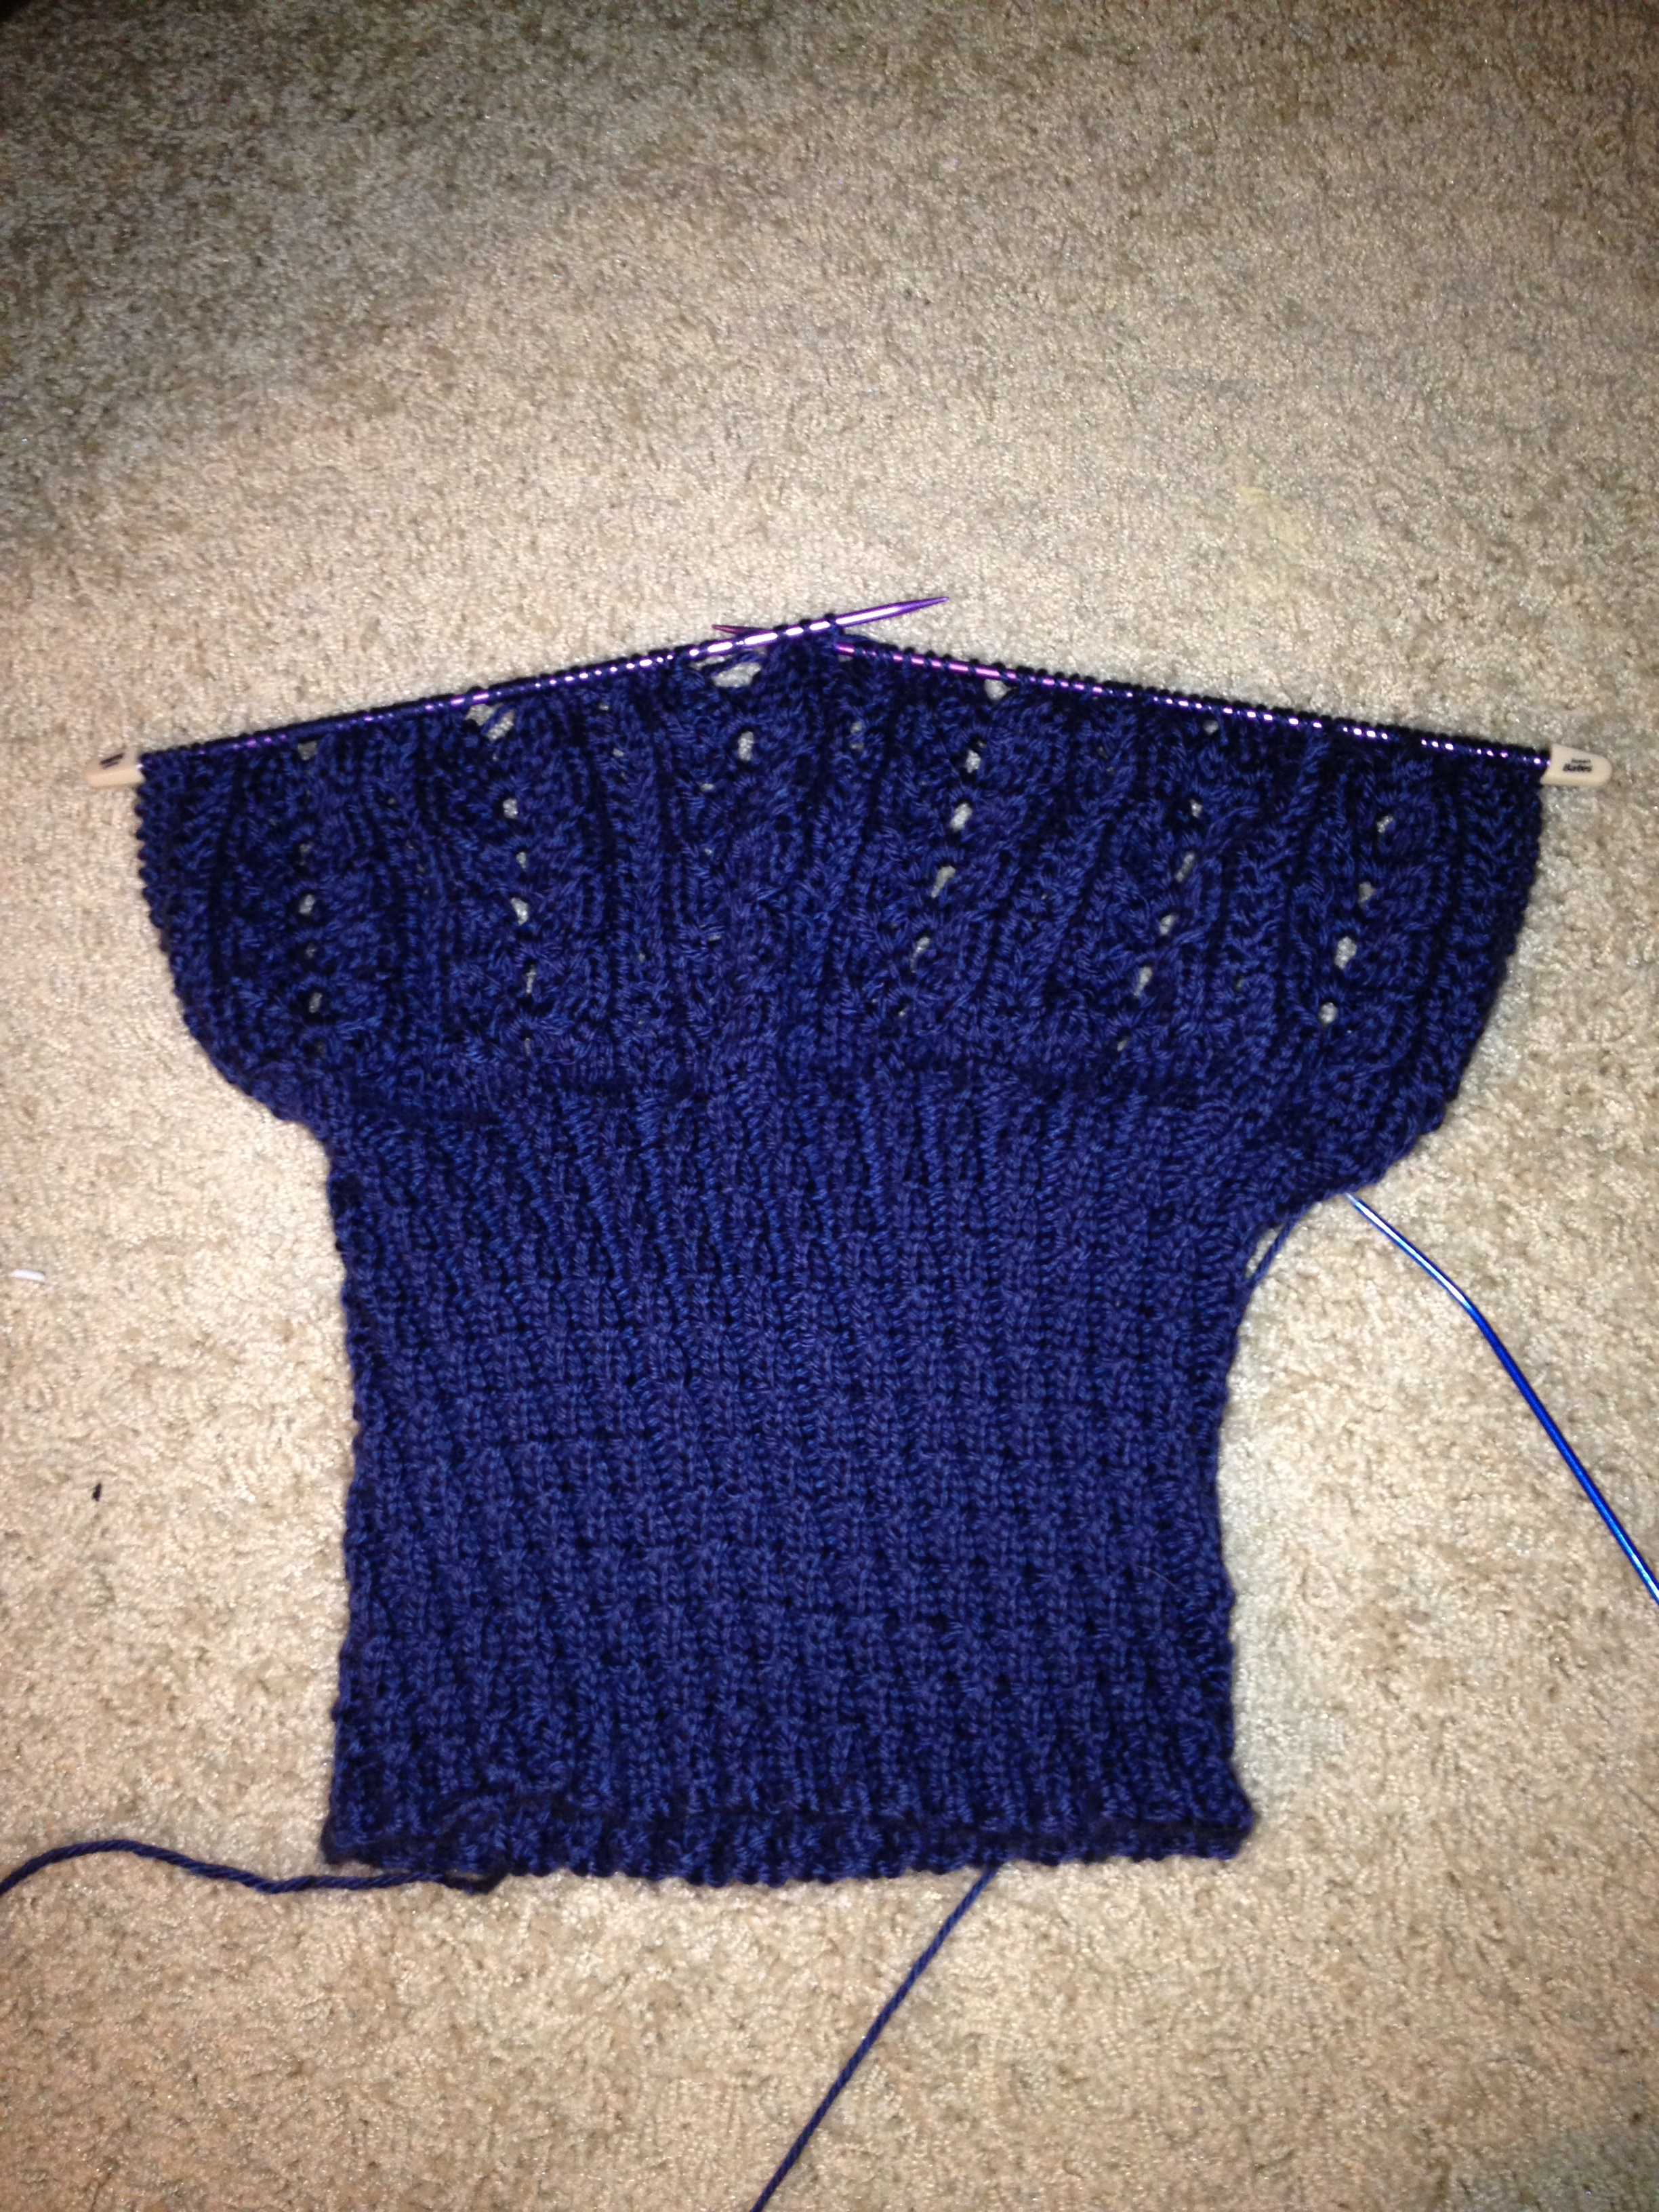
Knit koozies have become quite popular in Houston in the last few months. After seeing some quite boring koozies at various local hotspots, I decided I should come up with some jazzier varieties. Since then I’ve made koozies with cables, lace, camo, school logos, and super hero logos. I’ve already posted the pattern for my most popular koozie, Batman. The koozie that was most fun to knit had an interlocking heart cable. I included the pattern below.

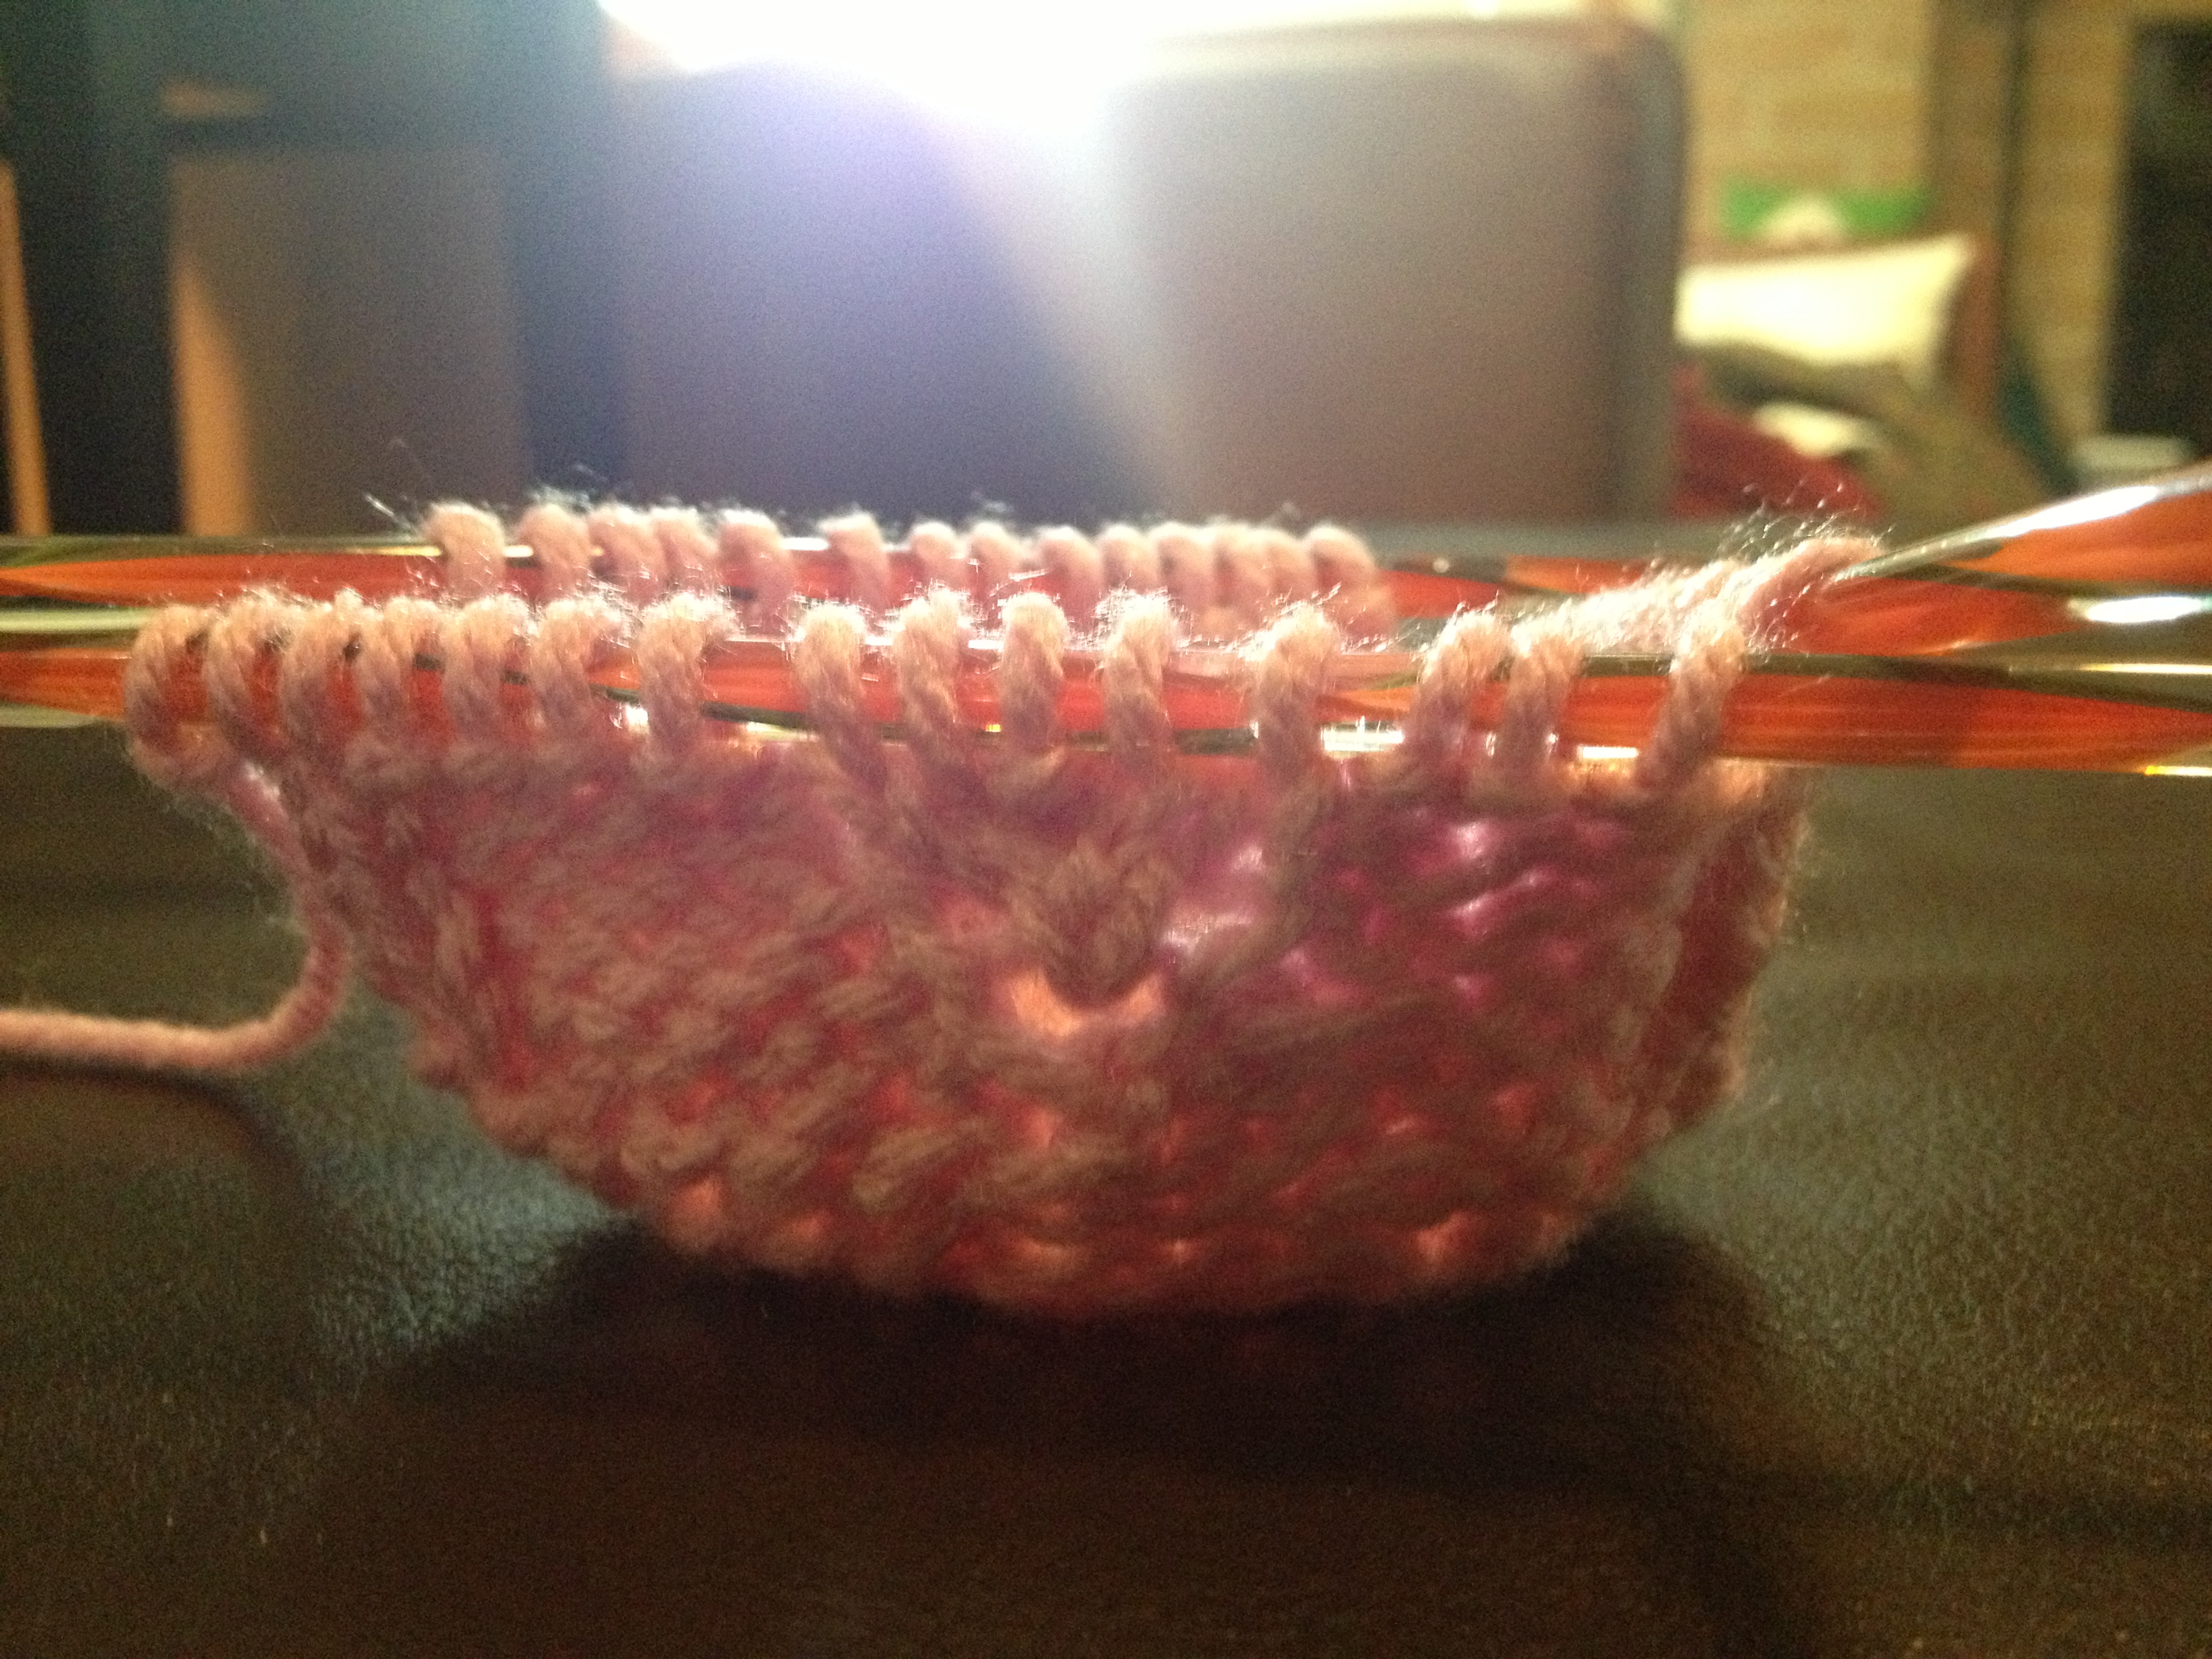
The pattern is slightly different from the koozie shown in the picture above. I redid the “pointy” part of the heart cable so that it was more symmetric. I haven’t made a complete koozie with the adjusted pointy part, but you can see what it will look like in the picture below. (This is what your koozie should look like at Row 15.)
Difficulty: Moderate
The heart cable is challenging.
Time Required: 2 Movies
Overall Experience: Excellent
This is a quick project. I carry one around in my purse to put on my glass when I go places. I think someone has asked me about it every time I’ve used it.
Disclaimer: Feel free to make this pattern for your personal use, for your platypus, for charity, or to sell. The only thing I ask is that you please do not sell it on Etsy. If you are interested in purchasing a koozie from my Etsy store, you may do so here.
Materials:
- A small amount of worsted weight yarn in your color of choice
- 4 US size 8 double pointed needles (DPN)
- An appropriately sized cable needle (CN)
Directions:
All of the stitches are basic except for I2 (see below). I tried to add links to anything besides a basic knit or purl.
I2 Stitch: Increase 2 stitches by working (Knit 1 Through Back Loop (K1 tbl), Knit (K) 1) insert left needle behind the vertical strand running downwards between the 2 stitches just worked and work this strand K1 tbl. Please leave me a comment if you need more details on this stitch.
Cast on 6 stitches using a cable cast on. Distribute the stitches evenly on three DPN
R1: Purl (P) 6 (6 stitches)
R2: Purl Front and Back (PFB) 6 times (12)
R3: P12 (12)
R4: *P1, PFB1, Repeat from * 6 times (18)
R5: P18 (18)
R6: *P2, PFB1, Repeat from * 6 times (24)
R7: P24
R8: *P2, PFB1, Repeat from * 8 times (32)
R9: P32
R10: *P3, PFB1, Repeat from * 3 times, P1, PFB1, P1, PFB1, *P3, PFB1, Repeat from * 3 times, P1, PFB1, P1, PFB1 (42)
R11: *P1, K2, P7, K1, P7, K2, P1, Repeat from * 1 time (42)
R12: *P1, K2, P5, Purl 2 Together (P2tog), I2, P2 tog through back loops (P2tog tbl), P5, K2, P1, Repeat from * 1 time (42)
R13: *P1, K2, P6, K3, P6, K2, P1, Repeat from * 1 time (42)
R14: *P1, Slip (Sl) 2 stitches to CN and hold in front, P1 from left hand needle (LHN), K2 from CN, P3, P2tog, K1, I2, K1, P2tog tbl, P3, Sl 1 stitch to CN and hold in back, K2 from LHN, P1 from CN, P1, Repeat from * 1 time (42)
R15: *P2, K2, P4, K2, P1, K2, P4, K2, P2, Repeat from * 1 time (42)
R16: *P2, Sl 2 stitches to CN and hold in front, P2 from LHN, K2 from CN, Sl 2 stitches to CN and hold in back, K2 from LHN, P2 from CN, P1, Sl 2 stitches to CN and hold in front, P2 from LHN, K2 from CN, Sl 2 stitches to CN and hold in back, K2 from LHN, P2 from CN, P2, Repeat from * 1 time (42)
R17: *P4, K4, P5, K4, P4, Repeat from * 1 time (42)
R18: *P4, Sl 2 stitches to CN and hold in back, K2 from LHN, P2 from CN, P5, Sl 2 stitches to CN and hold in front, P2 from LHN, K2 from CN, P4, Repeat from * 1 time (42)
R19: *P4, K2, P9, K2, P4, Repeat from * 1 time (42)
R20: *P2, Sl 2 stitches to CN and hold in back, K2 from LHN, P2 from CN, P9, Sl 2 stitches to CN and hold in front, P2 from LHN, K2 from CN, P2, Repeat from * 1 time (42)
R21: *P2, K2, P13, K2, P2, Repeat from * 1 time (42)
R22: *P1, Sl 1 stitch to CN and hold in back, K2 from LHN, P1 from CN, P13, Sl 2 stitches to CN and hold in front, P1 from LHN, K2 from CN, P1, Repeat from * 1 time (42)
R23-46: Repeat R11-R22 twice
Bind Off and Work in Ends
Related articles
- Batman Koozie (engineeredcreations.wordpress.com)