House Spirit Cardigan Pattern

The shower theme for my new nephew was Harry Potter, so naturally I wanted to make him something Harry Potter themed.  I searched for existing Harry Potter patterns, because I knew there were a lot of them, but nothing really stood out to me.  A lot of the fashion from the movies prominently used stripes (in the scarves, in the ties, etc.).  My mind kept coming back to the thought of a cardigan and stripes.  I decided to make a baby cardigan that while not explicitly referencing Harry Potter, nodded at the theme with the color choices.  The pattern features four areas of bi-colored stripes.  I decided to use the color schemes from the four houses from Harry Potter for the four regions. The idea of using the colors also added some symbolism.  Using all four represented wishing the best qualities of each house on the baby:  courage, loyalty, intelligence, and leadership.  I chose to use a variety of buttons to add a little whimsy.  I ended up making a second sweater for my daughter because it was just too cute!

The pattern is available in sizes 3-6 months, 6-12 months, 12-18 months, and 18-24 months.  If you need another size, I can make that happen!

Buy the pattern for $5 on Etsy here or on Ravelry here.

Materials:

Go to this link to buy a kit with everything you need to make this cardigan on Amazon.

  • Worsted weight yarn in two to nine colors (You may choose to use two alternating colors for all of the striping or use different colors for each quadrant and the band, as I did.  I used yarn I already had at my house, but most of it was Lion Brand Vanna’s Choice.  The colors I used where charcoal grey [A] for the bands, scarlet [B], gold [C], green [D], silver [E], blue [F], bronze [G], yellow [H], and black [I])
  • US 8 24” circular needles
  • US 8 double pointed needles
  • Tapestry needle
  • Buttons
  • Needle and thread to sew on buttons


Stitches Used:

Please comment below with any questions!

La Vie Boheme Headscarf Pattern

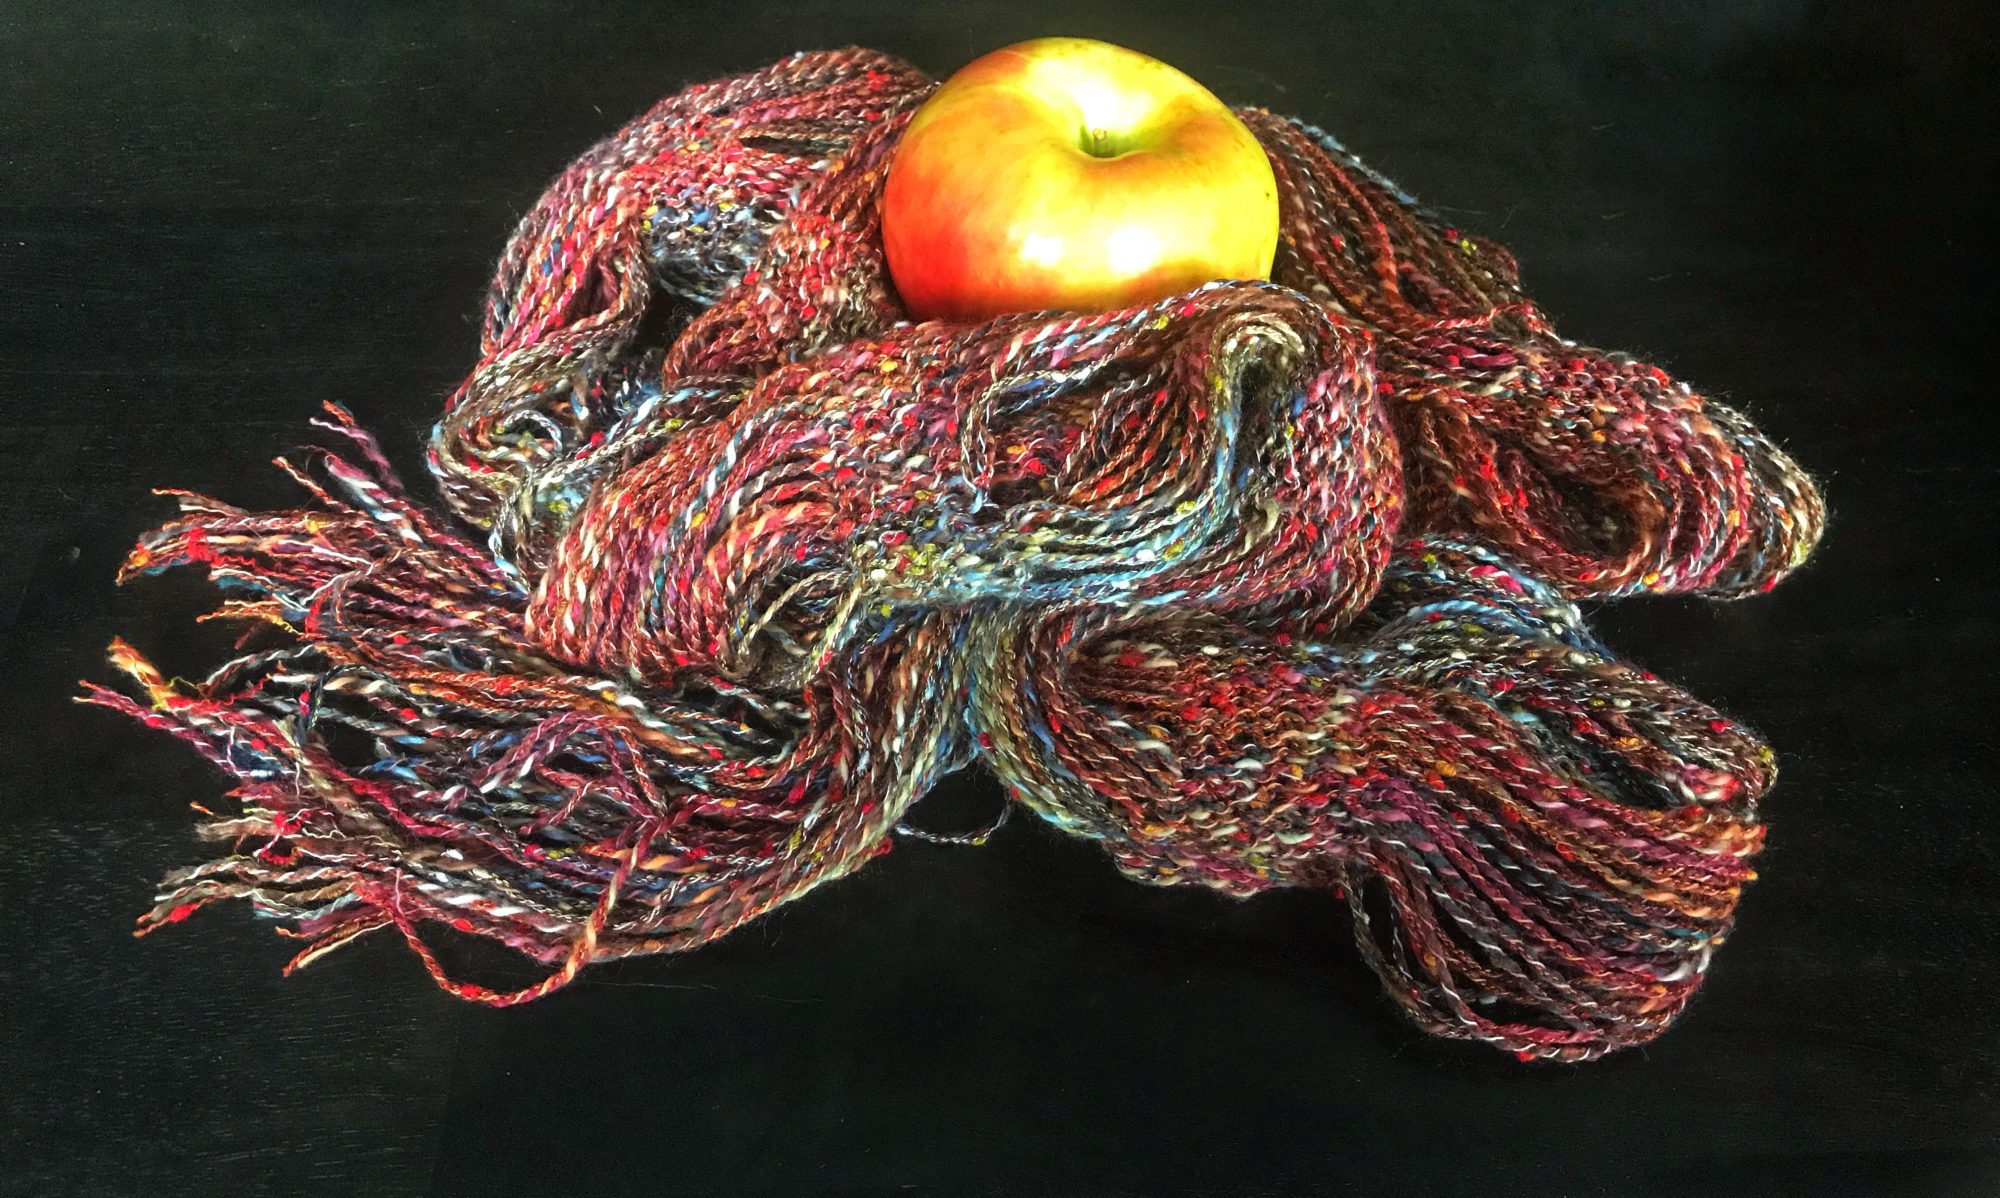
I designed this headscarf for my sister to wear at a competition she was judging in which she needed some sort of head covering.  I loved it so much, that I made one for myself!  The pattern features garter stitch, short rows, and a modified seafoam stitch to create lots of fun texture.  It works great with a variegated yarn.

Buy the pattern for $3 on Etsy here or on Ravelry here.

Materials:

Go to this link to buy a kit with everything you need to make this hat on Amazon.


Stitches Used:

Please comment below with any questions!


Valentine’s Cozy Roundup – Day 5

This pattern isn’t necessarily Valentine’s related, I just liked it!

Find the pattern here.


Valentine’s Cozy Roundup – Day 4

I saw some ideas on Pinterest for cozies with popcorn stitch hearts.  The links to the patterns weren’t good, so I made up a pattern!

Stitches Used:

  • Chain (ch)
  • Single crochet (sc)
  • Slip stitch (sl st)
  • Half double crochet (hdc)
  • Popcorn stitch (pop) – There are a couple of different ways to do this.  My favorite is as follows:
    • Yarn over and insert hook from front to back in to stitch, yarn over and draw yarn through stitch (3 loops on hook), yarn over and draw through two loops (2 loops on hook)
    • Yarn over and insert hook from front to back in to same stitch, yarn over and draw yarn through stitch (4 loops on hook), yarn over and draw through two loops (3 loops on hook)
    • Yarn over and insert hook from front to back in same stitch, yarn over and draw yarn through loops (5 loops on hook), yarn over and draw through two loops (4 loops on hook)
    • Yarn over and insert hook from front to back in same stitch, yarn over and draw yarn through loops (6 loops on hook), yarn over and draw through two loops (5 loops on hook)
    • Yarn over and insert hook from front to back in same stitch, yarn over and draw yarn through loops (7 loops on hook), yarn over and draw through two loops (6 loops on hook)
    • Yarn over and draw through all loops on hook

Cozy Pattern:

Chain 30 and sl st in first chain being careful not to twist.

R1:  Ch 2, 7 hdc, 1 pop, 14 hdc, 1 pop, 7 hdc, sl st to first hdc

R2:  Ch 1,  30 sc, sl st to first sc

R3:  Ch2, 5 hdc, 1 pop, 3 hdc, 1 pop, 10 hdc, 1 pop, 3 hdc, 1 pop, 5 hdc, sl st to first hdc

R4:  Repeat R2

R5:  Ch2, 3 hdc, 1 pop, 7 hdc, 1 pop, 6 hdc, 1 pop, 7 hdc, 1 pop, 3 hdc, sl st to first hdc

R6:  Repeat R2

R7:  Ch2, 1 hdc, 1 pop, 5 hdc, 1 pop, 5 hdc, 1 pop, 2 hdc, 1 pop, 5 hdc, 1 pop, 5 hdc, 1 pop, 1 hdc, sl st to first hdc

R8:  Repeat R2

R9:  Ch2, 1 hdc, 1 pop, 3 hdc, 1 pop, 3 hdc, 1 pop, 3 hdc, 1 pop, 2 hdc, 1 pop, 3 hdc, 1 pop, 3 hdc, 1 pop, 3 hdc, 1 pop, 1 hdc, sl st to first hdc

R10:  Repeat R2

R11:  Ch2, 3 hdc, 1 pop, 7 hdc, 1 pop, 6 hdc, 1 pop, 7 hdc, 1 pop, 3 hdc, sl st to first hdc

R12:  Repeat R2, break yarn and work in ends

Sham-Ombre Hat Pattern

I created a St. Patrick’s worthy hat pattern consisting of the standard shamrock and an ombre effect as the hat transitions to the crown.  I chose two coordinating green tones of Knit Picks Hawthorne fingering weight yarn that is light and perfect for spring.  I love the subtle design and the two beautiful yarn tones!  Because of the subtle effect, the hat doesn’t scream St. Patrick’s day and can be worn on other days throughout the year.

Buy the pattern on Etsy here or on Ravelry here.  The pattern is a written pattern, if you would prefer a chart, please contact me, and I can make that happen!

Materials:

Go to this link to buy a kit with everything you need to make this hat on Amazon.

  • Two colors of fingering weight yarn
  • 5 Size US 5 double pointed needles
  • Tapestry needle


Stitches Used:

Please comment below with any questions!


Mandala Madness Nursery Rug

While I was pregnant with Zoe I found a pattern on Pinterest called Mandala Madness.  It looked like so much fun!  The pattern created a giant, whimsical circle of crazy crochet techniques and looked like a blast.  But what does one do with a giant whimsical circle?  I decided to make it and use it as a rug in the nursery.

This project was FUN.  It is probably the most fun I have every had crocheting a project.  Every row was a different color or texture.  I finished all but the last two rows on it before having Zoe.  Since her brother moved to a big boy bed last night and she now has a crib in her room, I decided I had better finish the rug so we can finish the nursery.  (I’m not finished with her crib blanket, either.)  So, eight months later, the rug is finished!  I actually didn’t finish the 18 part pattern, I stopped when I got to the rug dimensions that I wanted.  I can always add more rows onto it later if I decide to reuse it as a larger circular blanket.  Right now it is about 4.5 feet in diameter, which is a great rug but a small blanket.


Simple Crochet Christmas Ornaments

I love to make homemade gifts for people.  With teacher Christmas gift time approaching, I decided to make some simple crochet ornaments (in addition to contributing to class gift cards).  Gift cards, while appreciated, feel so generic to me.  I like to give at least a little something that is special.  

That being noted, I also bit off a little more than I could chew and didn’t finish six of them before Christmas.  Better late than never, right?  I got a set of three to Zoe’s three teachers before the holidays, but Jack’s teachers just got their today.

I chose a set of three free patterns from 5 Little Monsters that I found on Pinterest.  Didn’t they turn out cute?


Horizontal Cable Knit Hat

Life got busy around the holidays, and I got behind on posting! One of my recent projects has been a new hat for Zoe. Baby heads grow so fast and none of her hats fit! The little jacket she wears all the time doesn’t have a hood, so she needed something to keep her little downy noggin’ warm. I was in love with some horizontal cabled hats I saw on Pinterest. I often make up my own patterns, but was interested in the construction techniques of this hat, so I bought a pattern I liked at Posh Patterns on Etsy. The pattern was quick, easy, and I love the way it turned out. We’ve already had many comments on it as we are out about town. The pattern can also easily be adjusted to use a different type of cable and now I have new ideas for how to construct a hat!


Elmo Inspired Hat version 2

I made up an Elmo Inspired Hat pattern a few years ago to go with my Oscar Inspired Hat; however, I wanted a hat without a mouth to go with my Zoe Inspired Hat, so here is a no mouth version with a slight variation on the eyes that I like much better.

This is my son wearing the hat as part of his Halloween costume.  He is Elmo-obsessed right now.

Materials:

  • Red yarn (I used Vanna’s Choice in Scarlet)
  • White yarn (I used Vanna’s Choice in White)
  • Black yarn (I used Vanna’s Choice in Black)
  • Orange yarn (I used some Red Heart yarn from my stash.  I’m not sure the exact shade)
  • Tapestry needle
  • Size E crochet hook
  • Knitting needle size needed for my basic hat pattern
  • Fiber fill


Stitches Used:

Directions:

Hat:

First, knit your hat in the size desired using my basic hat pattern using red.  I purposely sized up one size on my son’s hat below so that he can wear it longer.

Here is my daughter wearing a more fitted version of the hat.

Eyes (make 2) (This is different from the original pattern because it is worked in continuous rounds.  It makes the pupil of the eye look more uniform):

R1:  With black use magic ring technique to start round, ch 1, sc 8, on the last stitch switch to white   Cut black yarn and work in ends. (8 stitches)

Continue with white.

R2:  2 sc in first stitch from R1 and in each sc around (16 stitches)

R3:  Sc 3, 2 sc in next stitch around (20 stitches)

R4-R6:  Sc in each stitch around (20 stitches)

R7:  Sc 3, sc2tog around (16 stitches)

R8:  Sc2tog around (8 stitches)

R9:  Sc2tog around (4 stitches)

Cut yarn and leave tail for sewing.


Nose:

R1:  With O use magic ring technique to start round, ch 1, sc 8 (8 stitches)

R2:  2 sc in first stitch from R1 and in each sc around (16 stitches)

R3:  Sc 3, 2 sc in next stitch around (20 stitches)

R4-R10:  Sc in each stitch around (20 stitches)

R11:  Sc 3, sc2tog around (16 stitches)

R12:  Sc2tog around (8 stitches)

R13:  Sc2tog around (4 stitches)

Cut yarn and leave tail for sewing.

Using a picture of Elmo as inspiration, tack the eyes and nose onto the hat using a tapestry needle and yarn.  I would also suggest tacking the eyes and nose to each other.


Basic Knit Hat

I like to make up patterns for cute character hats, but each of those hats typically begins with a simple base hat.  For examples, see my Baby Turkey Hat, Oscar the Grouch Hat, or Elmo Hat.  Here are instructions for my favorite base hat.  I love this hat because it is very forgiving in respect to size.  It’s very stretchy and the rolled brim allows it to be longer or shorter as needed.

Here is my daughter Zoe  modeling the newborn size hat.  (She is going to be Zoe from Sesame Street for Halloween, and this is the base for her Zoe hat.)

Here is my son Jack wearing the child hat.  He is actually toddler-sized, but I made it larger so he could wear it longer.  (She is going to be Elmo for Halloween, and this is the base for his Elmo hat.)

Materials:

  • 5 US Size 6, 7, or 8 double pointed knitting needles (see table below to determine size)
  • Worsted weight yarn (my favorite is the Vanna’s Choice brand)
  • Tapestry needle


Stitches:

Size Head Circumference (in.) # of Stitches to Cast On Knitting Needle Size Hat Circumference (in) Hat Length Before Decrease (in)
Micro-Preemie 9 36 6 8 3
Preemie 11 48 6 10 3.5
Newborn 13 60 6 12 4
6 months 15 72 6 14 4.5
1 year 17 72 7 16 5
Toddler 18 72 7 16 5.5
Child 20 84 6 19 6
Small Adult 21 84 6 19 6.5
Medium Adult 22 84 7 21 7
Large Adult 23 84 7 21 7.5
XL Adult 24 84 8 23 8

Hat Instructions:

  • With yarn, cast on number of stitches in the table for the size desired and distribute them evenly on four double pointed needles.
  • Join in round (being careful not to twist!) and knit each round until the piece is the length specified in the table.  The brim of the hat will be rolled.  Unroll it to measure your length.

Crown (skip even numbered rounds for micro-preemie and preemie sizes):

R1:  (K4, SSK, K2tog, K4) around

R2:  K all stitiches

R3:  (K3, SSK, K2tog, K3) around

R4:  K all stitiches

R5:  (K2, SSK, K2tog, K2) around

R6:  K all stitiches

R7:  (K1, SSK, K2tog, K1) around

R8:  K all stitiches

R9:  (SSK, K2tog) around

R10:  (K2tog) around