Wedding Chalkboard Signs

20140102-201104.jpg

I posted the first half of the instructions on how to make our wedding chalkboard signs a few months ago. Here’s the second half.

The first half can be found here.

My husband actually made the frames for the signs while I did the lettering. He didn’t take any in-progress pictures, but here are the instructions.

Materials:

  • Wooden trim
  • Spray paint
  • Wood glue
  • Sandpaper
  • Saw
  • Pencil
  • Instructions:

  • Lay the trim on one edge of your sign. Make sure that the trim is overlapping the edge of the sign at least one inch. Mark the trim where it should be cut.
  • Cut the trim at 45 degrees on both sides.
  • Repeat marking and cutting around the parameter of the sign.
  • Spray paint the pieces of trim.
  • Using the sandpaper, lightly sand the exposed edges to weather the frame.
  • Glue the pieces of frame together two pieces at a time. Allow the glue to dry overnight before adding another piece.
  • When all four pieces are glued together, glue the frame to the sign. Allow to dry overnight, and your sign is complete!
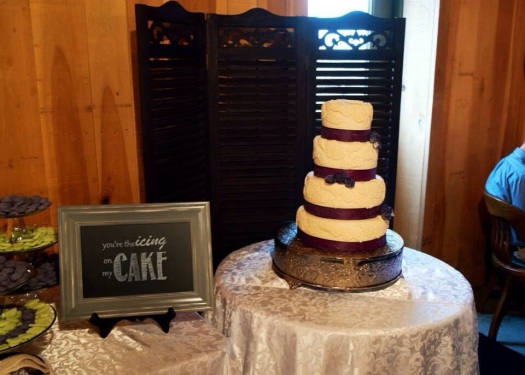
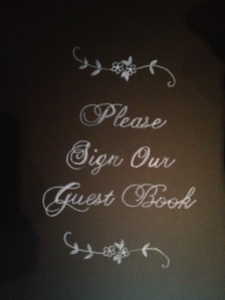
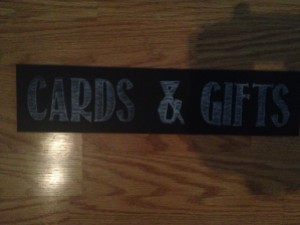
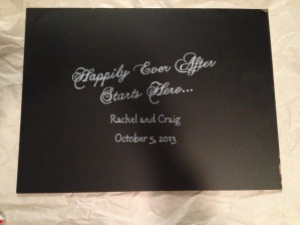
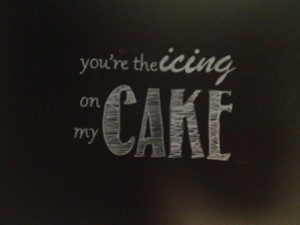
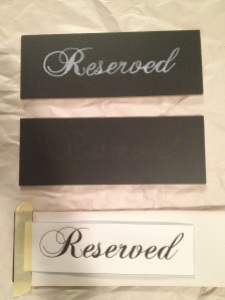
  • Here are some of the signs we made for our wedding.

    20140102-201526.jpg

    20140102-201540.jpg

    20140102-201556.jpg

    20140102-201634.jpg

    20140102-201646.jpg

    20140102-201654.jpg

    Chalkboard Signs Work-in-Progress

    This wedding season, chalkboard signs are all the rage.  However, they are quite expensive.  I decided to make my own.  I bought some 2’x4′ pieces of chalkboard for $10.25 per piece at Home Depot last weekend.  My almost father-in-law cut them for me on his table  saw.  I’ve been working at lettering them this week.  The larger signs will have frames around them eventually, but they are turning out too cute not to share!


    20130901-185615.jpg

    20130901-185549.jpg

    20130901-185738.jpg

    20130901-185643.jpg

    Materials:

    Instructions:

    • Use PowerPoint to design your sign.  PowerPoint has tons of great fonts already.  There are a lot more available at dafont.com.  Erin has some great font suggestions on her blog, How to Nest for Less.  It’s easy to scale the signs to an appropriate size using the program.
    • Print your design and tape it to the board using masking tape.
    • Slide the tracing paper between the design and the chalkboard.
    • Trace the design using a normal ball point pen.  You don’t have to be super exact with the tracing.  I like the design to have some imperfections so it looks like it was handmade rather than printed.
    • Remove the tracing paper and design.  You should see your design faintly in white transferred to the chalkboard.  Using your chalk or paint marker, trace over the design again.

    20130901-185710.jpg

    Difficulty:  Easy

    Time Required:  30 minutes

    Overall Experience:  Excellent