I posted the first half of the instructions on how to make our wedding chalkboard signs a few months ago. Here’s the second half.
The first half can be found here.
My husband actually made the frames for the signs while I did the lettering. He didn’t take any in-progress pictures, but here are the instructions.
Materials:
Wooden trim
Spray paint
Wood glue
Sandpaper
Saw
Pencil
Instructions:
Lay the trim on one edge of your sign. Make sure that the trim is overlapping the edge of the sign at least one inch. Mark the trim where it should be cut.
Cut the trim at 45 degrees on both sides.
Repeat marking and cutting around the parameter of the sign.
Spray paint the pieces of trim.
Using the sandpaper, lightly sand the exposed edges to weather the frame.
Glue the pieces of frame together two pieces at a time. Allow the glue to dry overnight before adding another piece.
When all four pieces are glued together, glue the frame to the sign. Allow to dry overnight, and your sign is complete!
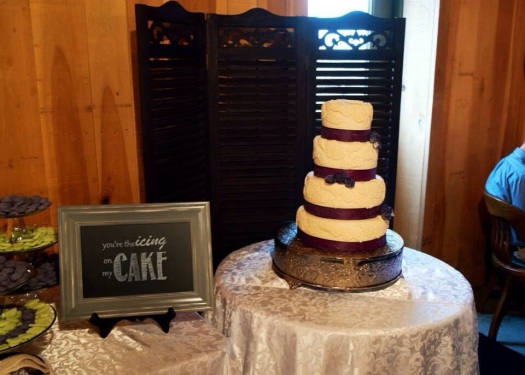
Here are some of the signs we made for our wedding.