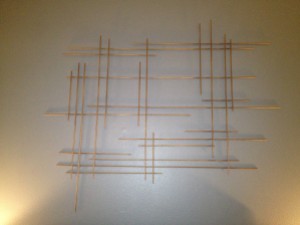
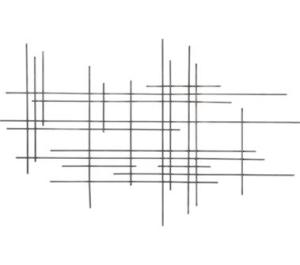
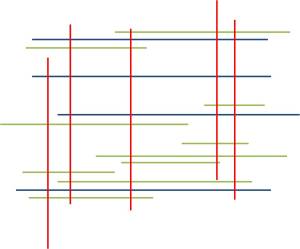
For my boyfriend’s (now fiance’s) birthday in 2012, our friend Cassie had the idea to try to recreate a piece of wall art he had been admiring at Crate and Barrel that was no longer available for purchase. She knew that I liked crafting, so she invited me over to help. The original piece was made of welded steel. Our idea was to recreate it using dowel rods. The lighting in the picture isn’t great, but I loved the end product!
Here is the inspiration piece:
Materials:
- About 20 1/4 inch dowel rods
- Hot glue gun and glue
- Saw, Dremel, etc. (Anything that can cut the dowel rods)
- Spray paint
Instructions:
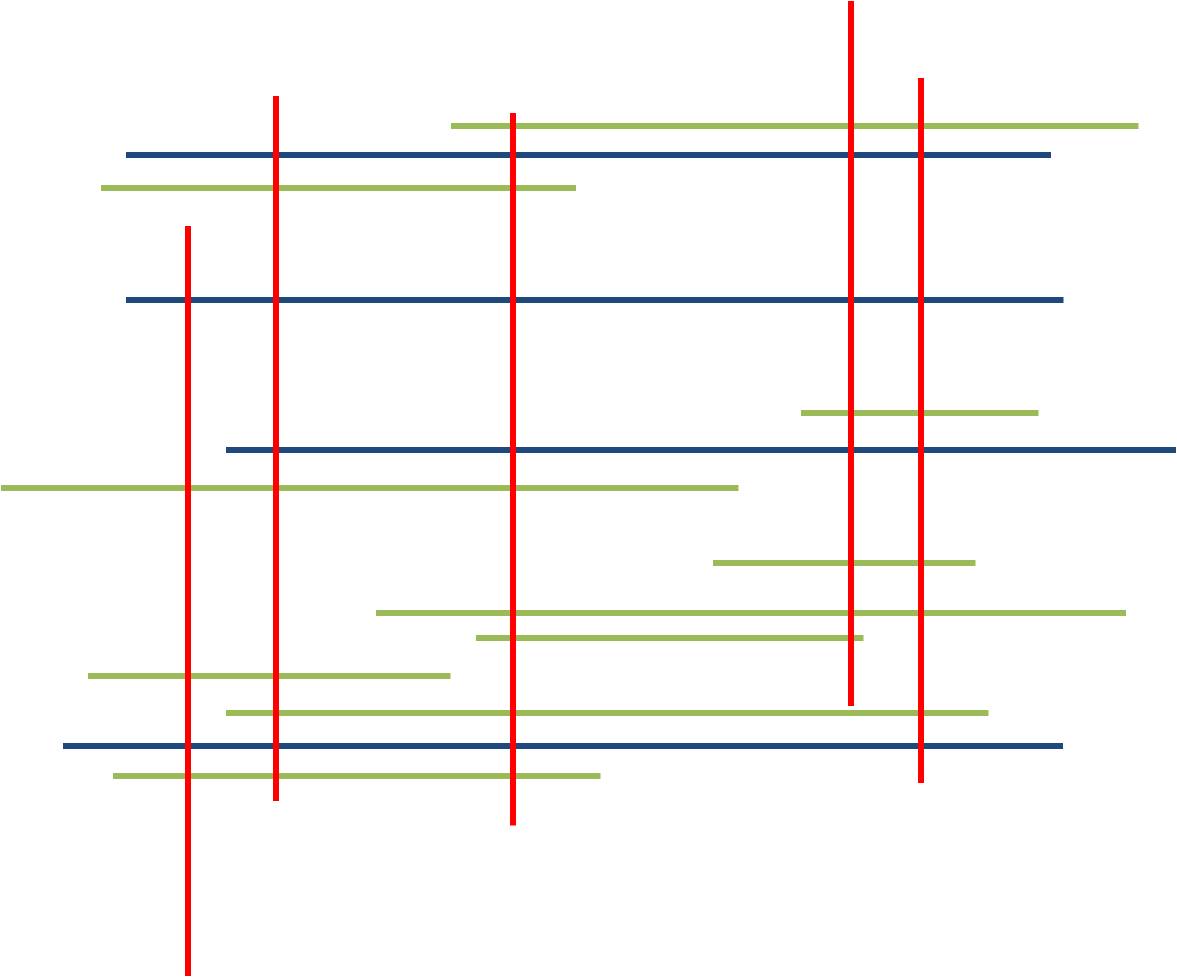
- Leaving about eight of the dowel rods their original length, cut the others into pieces of varying sizes
- Arrange half of the full-length rods horizontally parallel to one another. These full-length rods will provide stability to your art.

- Arrange some of the shorter pieces parallel to the full-length pieces.

- Arrange the rest of the full-length pieces perpendicular to the horizontal pieces. Make sure that the full-length pieces extend from the top to the bottom of your art. These vertical pieces will provide stability to your art.
- Place the remaining pieces vertically parallel to the other vertical pieces. Each individual rod should be supported perpendicularly in at least two places near that rod’s end. Adjust placement as required.
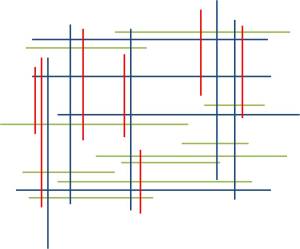
- Hot glue each location where two rods cross one another.
- Spray paint in the color of your choice. We chose a dark gold-like color.
Difficulty: Easy
Time Required: Two Movies
Overall Experience: Excellent
29.76328-95.36327